Apiman is a API Management application that help you add policies to your service and set up and enforce contracts between service producers and consumers. Fabric8 is cloud infrastructure build on Kubernetes and Docker. Please follow these steps to get Apiman running on Fabric8. In this post I will show you how to deploy a REST quickstart to Fabric8 and how to publish it as a Public Service on the Apiman Gateway protected by Simple Authentication.
1. Deploy a REST based service to Fabric8
When Fabric8 is running follow these steps to deploy the CXFCDI quickstart
git clone https://github.com/fabric8io/ipaas-quickstarts
cd ipaas-quickstarts/quickstarts/java/cxf-cdi/
mvn clean install fabric8:json docker:build  fabric8:apply
When the build succeeds the CXFCDI service appears in the http://fabric8.vagrant.f8 console as shown below

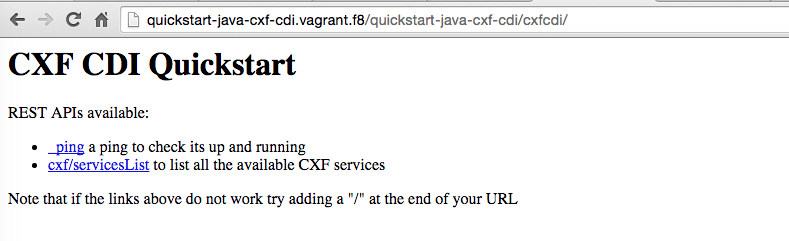
and you can access the endpoint in your browser at http://quickstart-java-cxf-cdi.vagrant.f8/quickstart-java-cxf-cdi/cxfcdi/, and http://quickstart-java-cxf-cdi.vagrant.f8/quickstart-java-cxf-cdi/cxfcdi/swagger.json for the swagger definition.
2. Publish the CxfCdi service to the Apiman Gateway
You may notice there is no authentication required to use this REST service. The easiest way to add security or any other policies is to publish the service to the Apiman Gateway and to expose the gateway on your firewall. So let’s go ahead and publish the CxfCdi service as a Public Service. A Public Service is a service that consumers can use without having a Contract in place.
2.1. Add your Organization
If you don’t have an Organization already create one now by navigating to the API Management tab and clicking Create a new Organization. Create your Organization.
2.2. Import Services
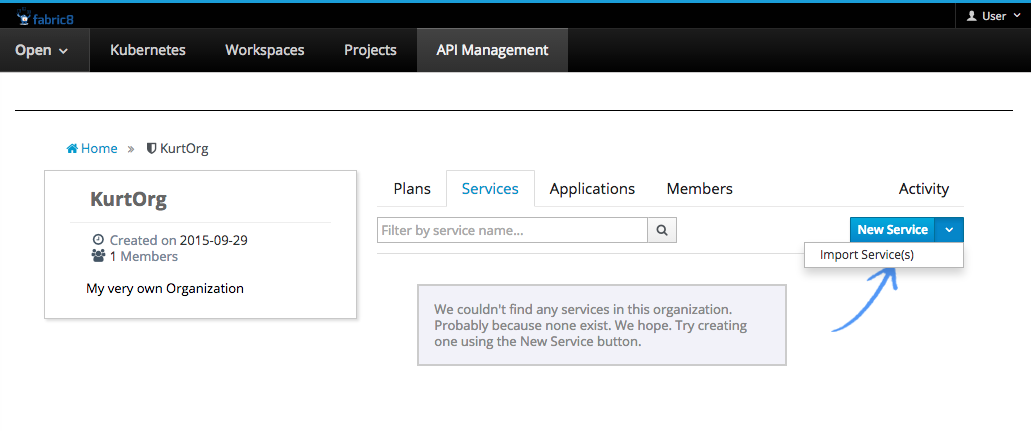
Within your Organization select Services and then click on the little dropdown next to the New Service button. Click on the Import Service popup to enter the Import Services wizzard.
This wizzards allows you to bulk-import service endpoints by doing a lookup in Kubernetes. At this point it is worth mentioning that the following Kubernetes Service Annotations are used to find the service and swagger endpoint, which are defined as properties in the service pom (More on that in a different blog post):
<fabric8.annotations.service.servicePath>quickstart-java-cxf-cdi/cxfcdi</fabric8.annotations.service.servicePath>
<fabric8.annotations.service.protocol>REST</fabric8.annotations.service.protocol>
<fabric8.annotations.service.descriptionPath>quickstart-java-cxf-cdi/cxfcdi/swagger.json</fabric8.annotations.service.descriptionPath>
<fabric8.annotations.service.descriptionType>SwaggerJSON</fabric8.annotations.service.descriptionType>
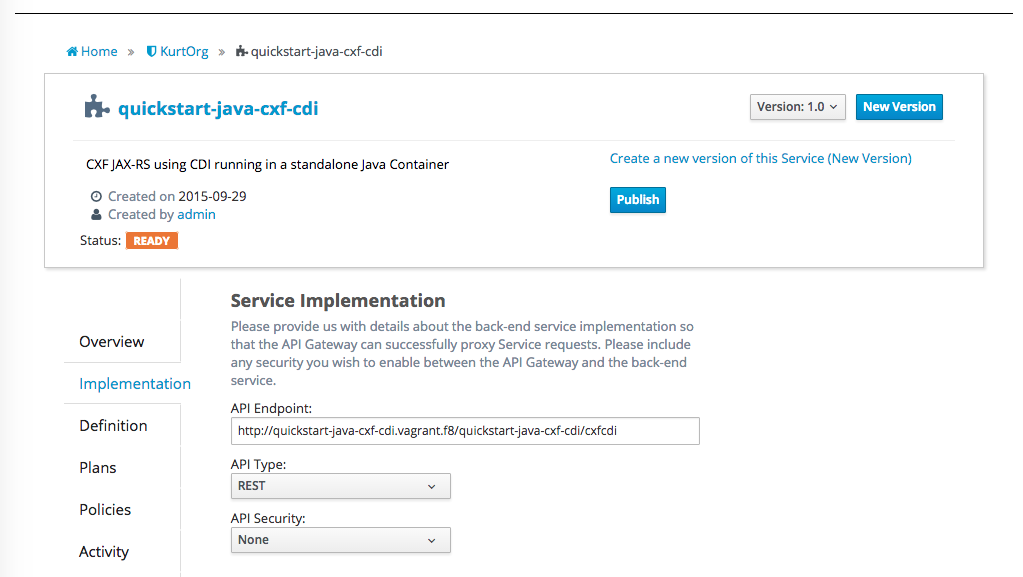
In the Find Services searchbox type 'quickstart' to find the quickstarts in the current namespace (or '*' for all services in the namespace). Then select to add the CxfCdi Quickstart, and when select the 'Public Service' check box (For this it’s ok that we don’t yet have any plans setup). Then click Finish and your new Service should show up under the list of Services for your Organization. Go ahead and click on the CxfCdi Service. You should now see that it found the service endpoint of our service in the implementation tab
2.3. Swagger apidocs
As mentioned above the CxfCdi service publishes a swagger.json service definition and this document that was imported by Apiman as shown in below
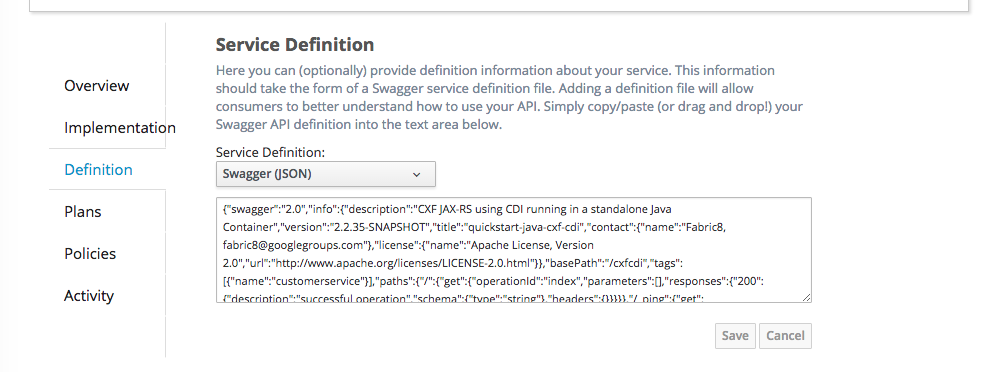
This swagger document is used to build the swagger editor page in Apiman.
2.4. Publish CxfCxf Service to the Gateway
At this point all we really need to do is to Publish the service to the gateway. So let’s click on the Publish button. In the leftnav an 'Endpoint' tab will now appear. This shows the URL under which the Gateway has now published the service. This should something like
http://quickstart-java-cxfcdi.vagrant.f8/gateway/KurtOrg/v1.0/
3. Protect the CxfCdi service with a Policies
We now have a the service published on gateway however it is still not protected in any way! We need to add an authentication policy to make this happen. Since the service is already published we need to create a new version of this service in Apiman. So let’s create version 1.1.
3.1. Add Simple Auth Policy
Under version 1.1 we on Policies tab we can now click on the Add Policy button. On the policy screen select the BASIC Authentication Policy and for the realm set 'quickstart', set a check in the Basic Auth required checkbox and select a 'Static' identity source. Finally type 'admin' in both the Username and Password box and click 'Add' and 'Add Policy'. Now you should have a BASIC Authentication Policy.

3.2. Publish version 1.1
Finally we need to publish version 1.1 of this service, so go ahead and click on 'Publish', the endpoint of this version on the gateway should now be something like
http://apiman-gateway.vagrant.f8/gateway/KurtOrg/quickstart-java-cxf-cdi/1.1
and when you hit it with your browser it should pop a Basic Auth 'Authentication Required'.
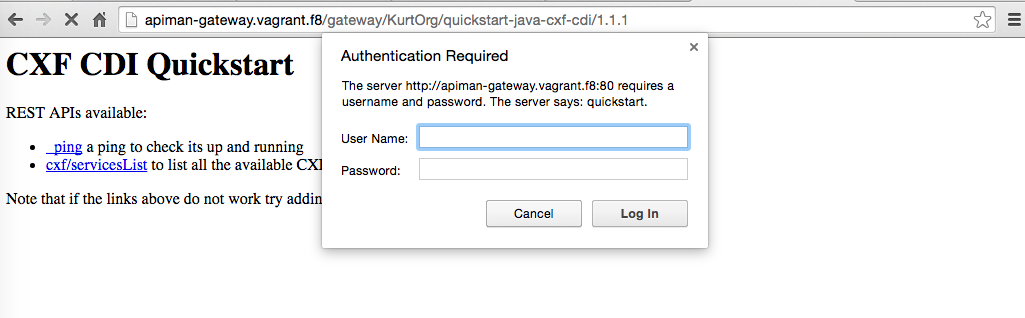
Providing it with the credentials we set above (admin/admin), it should let us in.
3.3. Retire version 1.0
Note that the service endpoint for version 1.0 still works. You can select version 1.0 in Apiman and click on 'Retire' to disable the unprotected version 1.0 endpoint.
3.4. Add a Rate Limiting Policy
What if in addition to the BASIC Auth Policy we want to have a Rate Limiting Policy in place? Simple create version 1.2 of this service and add this policy. In the Policy screen for this policy set '5 requests' per 'service' per 'minute'. Click 'Add Policy' and see that you now have two policies on this service.

On this screen you can also changes the order in which these policies are applied. When you are happy click 'Publish' to bring up the endpoint for this version on the gateway. When you use this end point more then 5 times in minute, it should return a nice JSON payload saying something like
{
  type: "Other",
  failureCode: 10005,
  responseCode: 429,
  message: "Rate limit exceeded.",
  headers: {
    X-RateLimit-Limit: "5",
    X-RateLimit-Remaining: "-1",
    X-RateLimit-Reset: "19"
  }
}
This condition will be cleared when you wait 19 more seconds. Don’t for get to retire version 1.1 of the service (unless you have a good reason not to).
4. Conclusion
We’ve shown how to publish a service on the gateway and how to apply policies. We’ve applied both a Basic Auth and a Rate limiting Policy. The service in question was published as a Public Service which means it does not discriminate application of te policies based on 'who is calling'. If you do need to discriminate then you will need to set up Plans and Contracts. We will talk about that in a differnet post so stay tuned!
Cheers,
--Kurt